THIS WEEK ON DDP RADIO: TERRI LANGE, THE GODMOTHER OF DDPYOGA
AT 9 P.M. EST WEDNESDAY, FEB. 27
(347) 994-1216
www.ddpradio.com
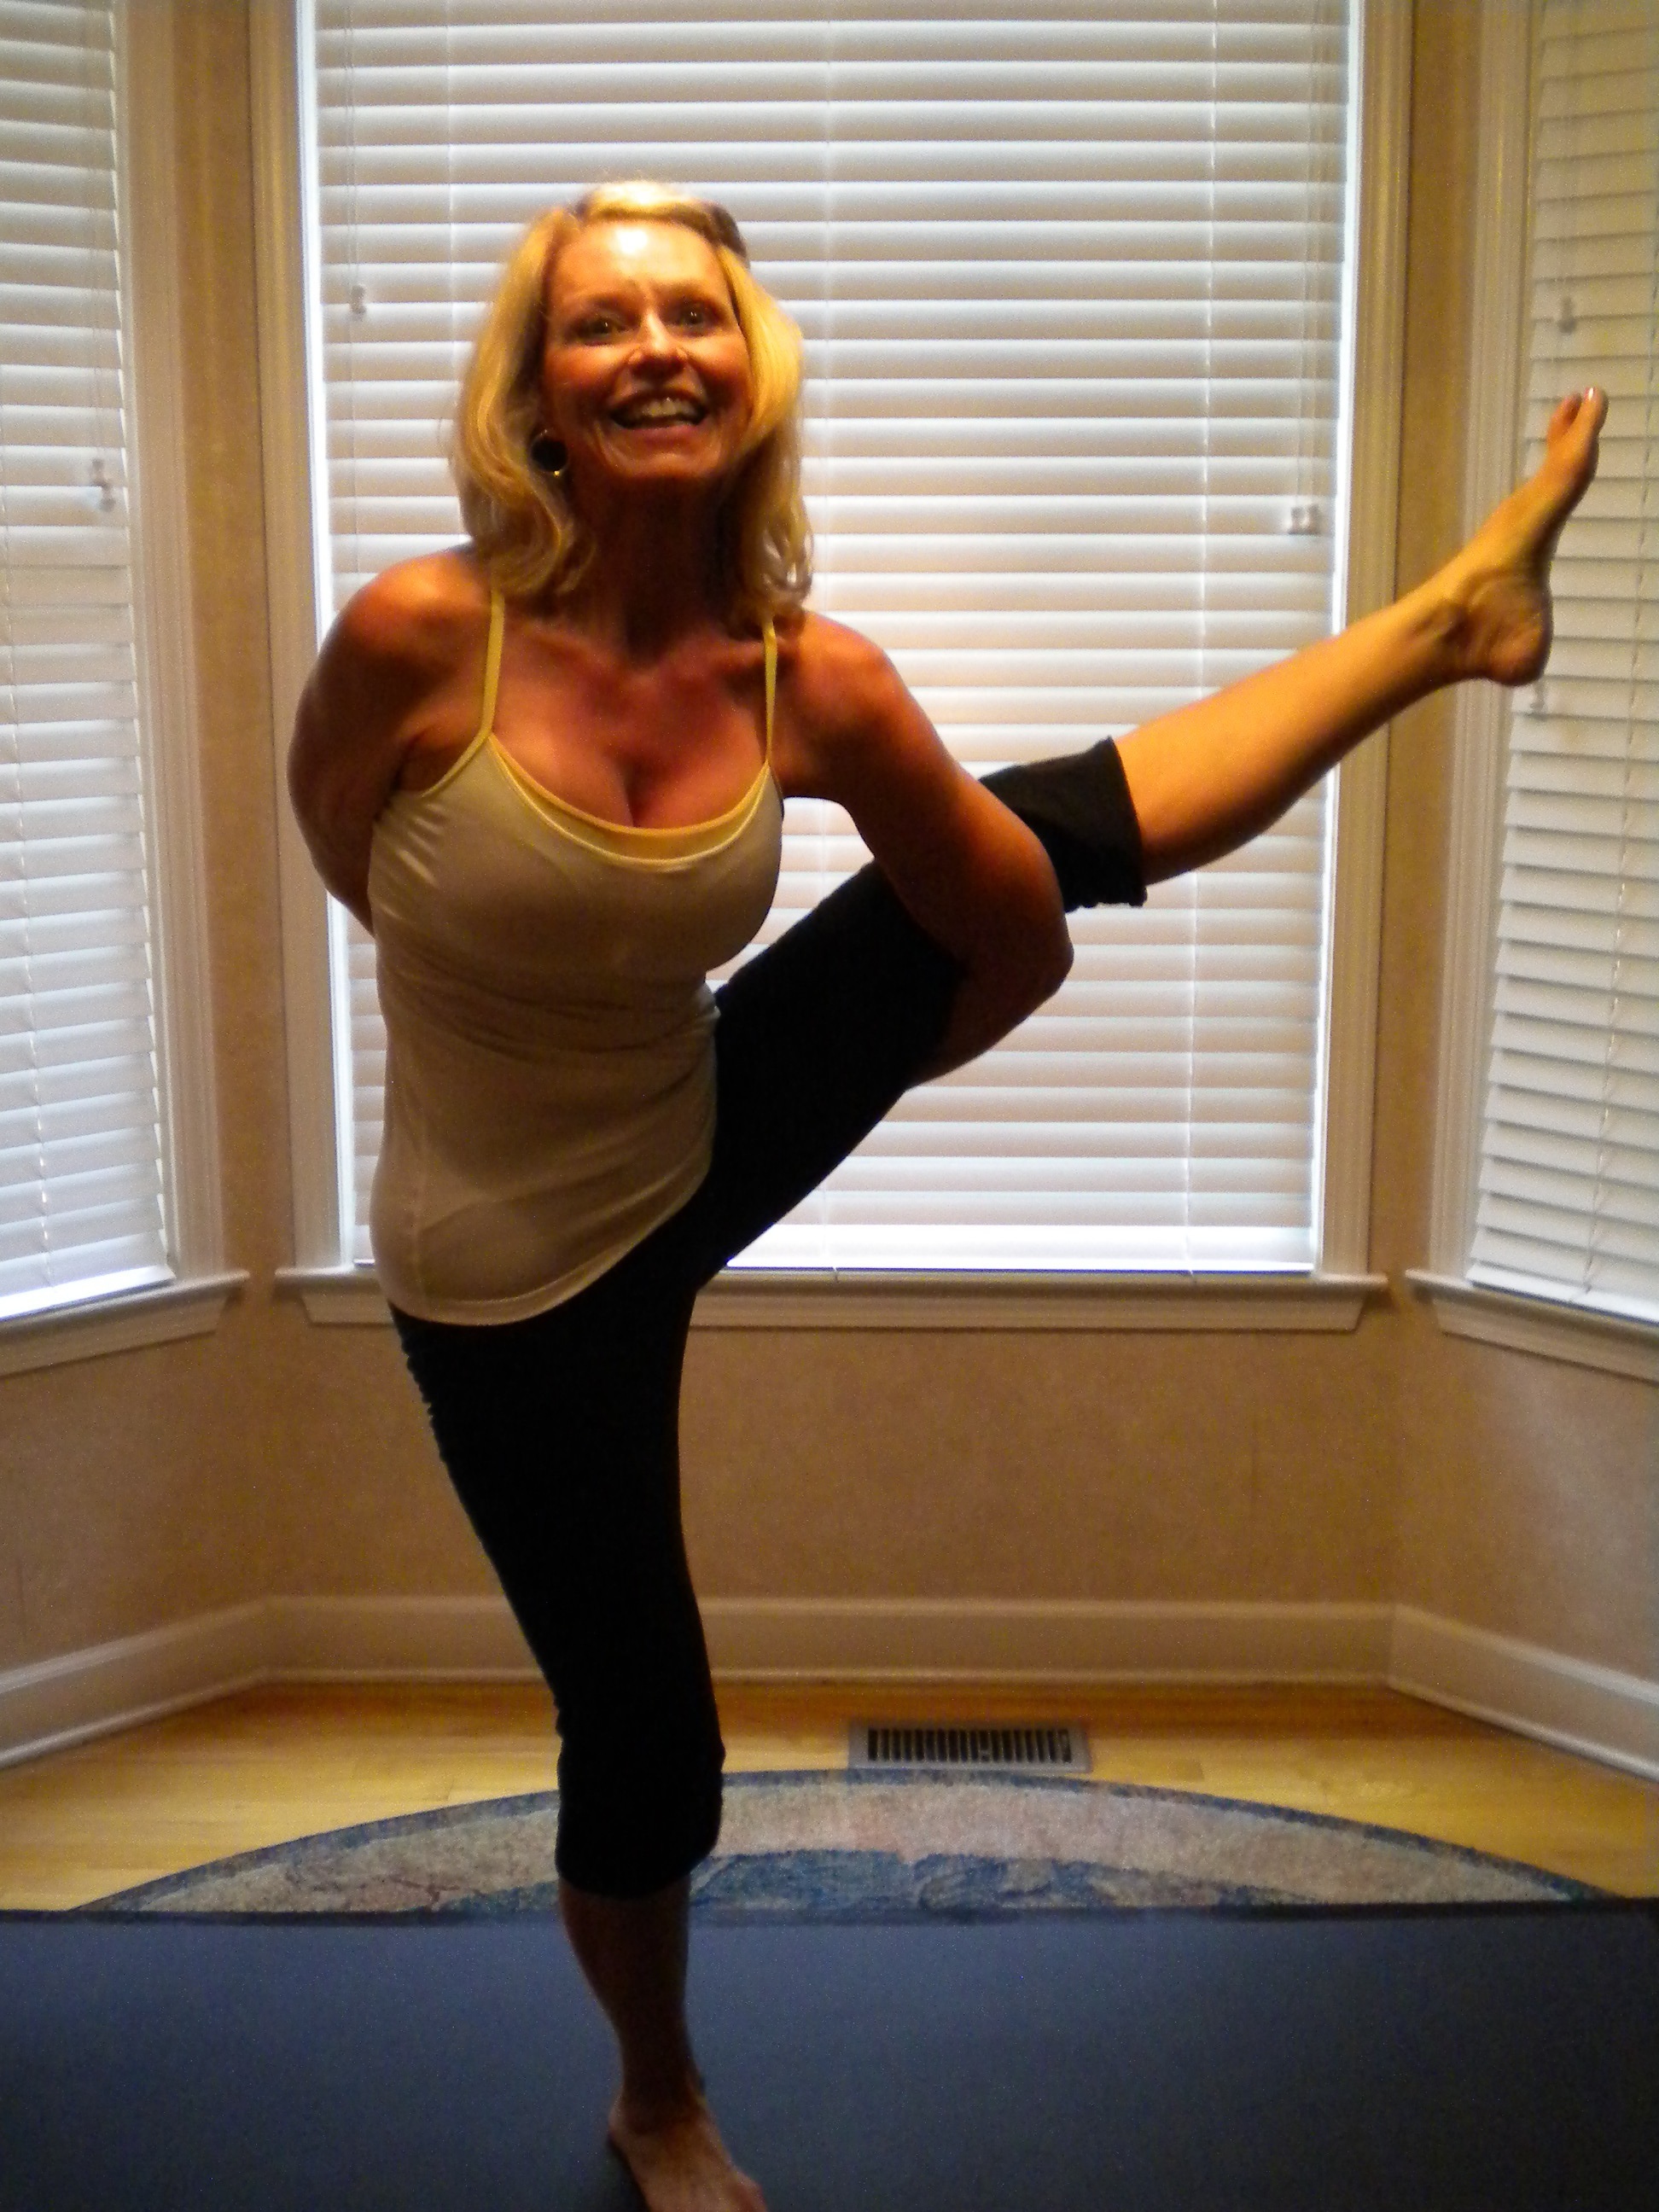
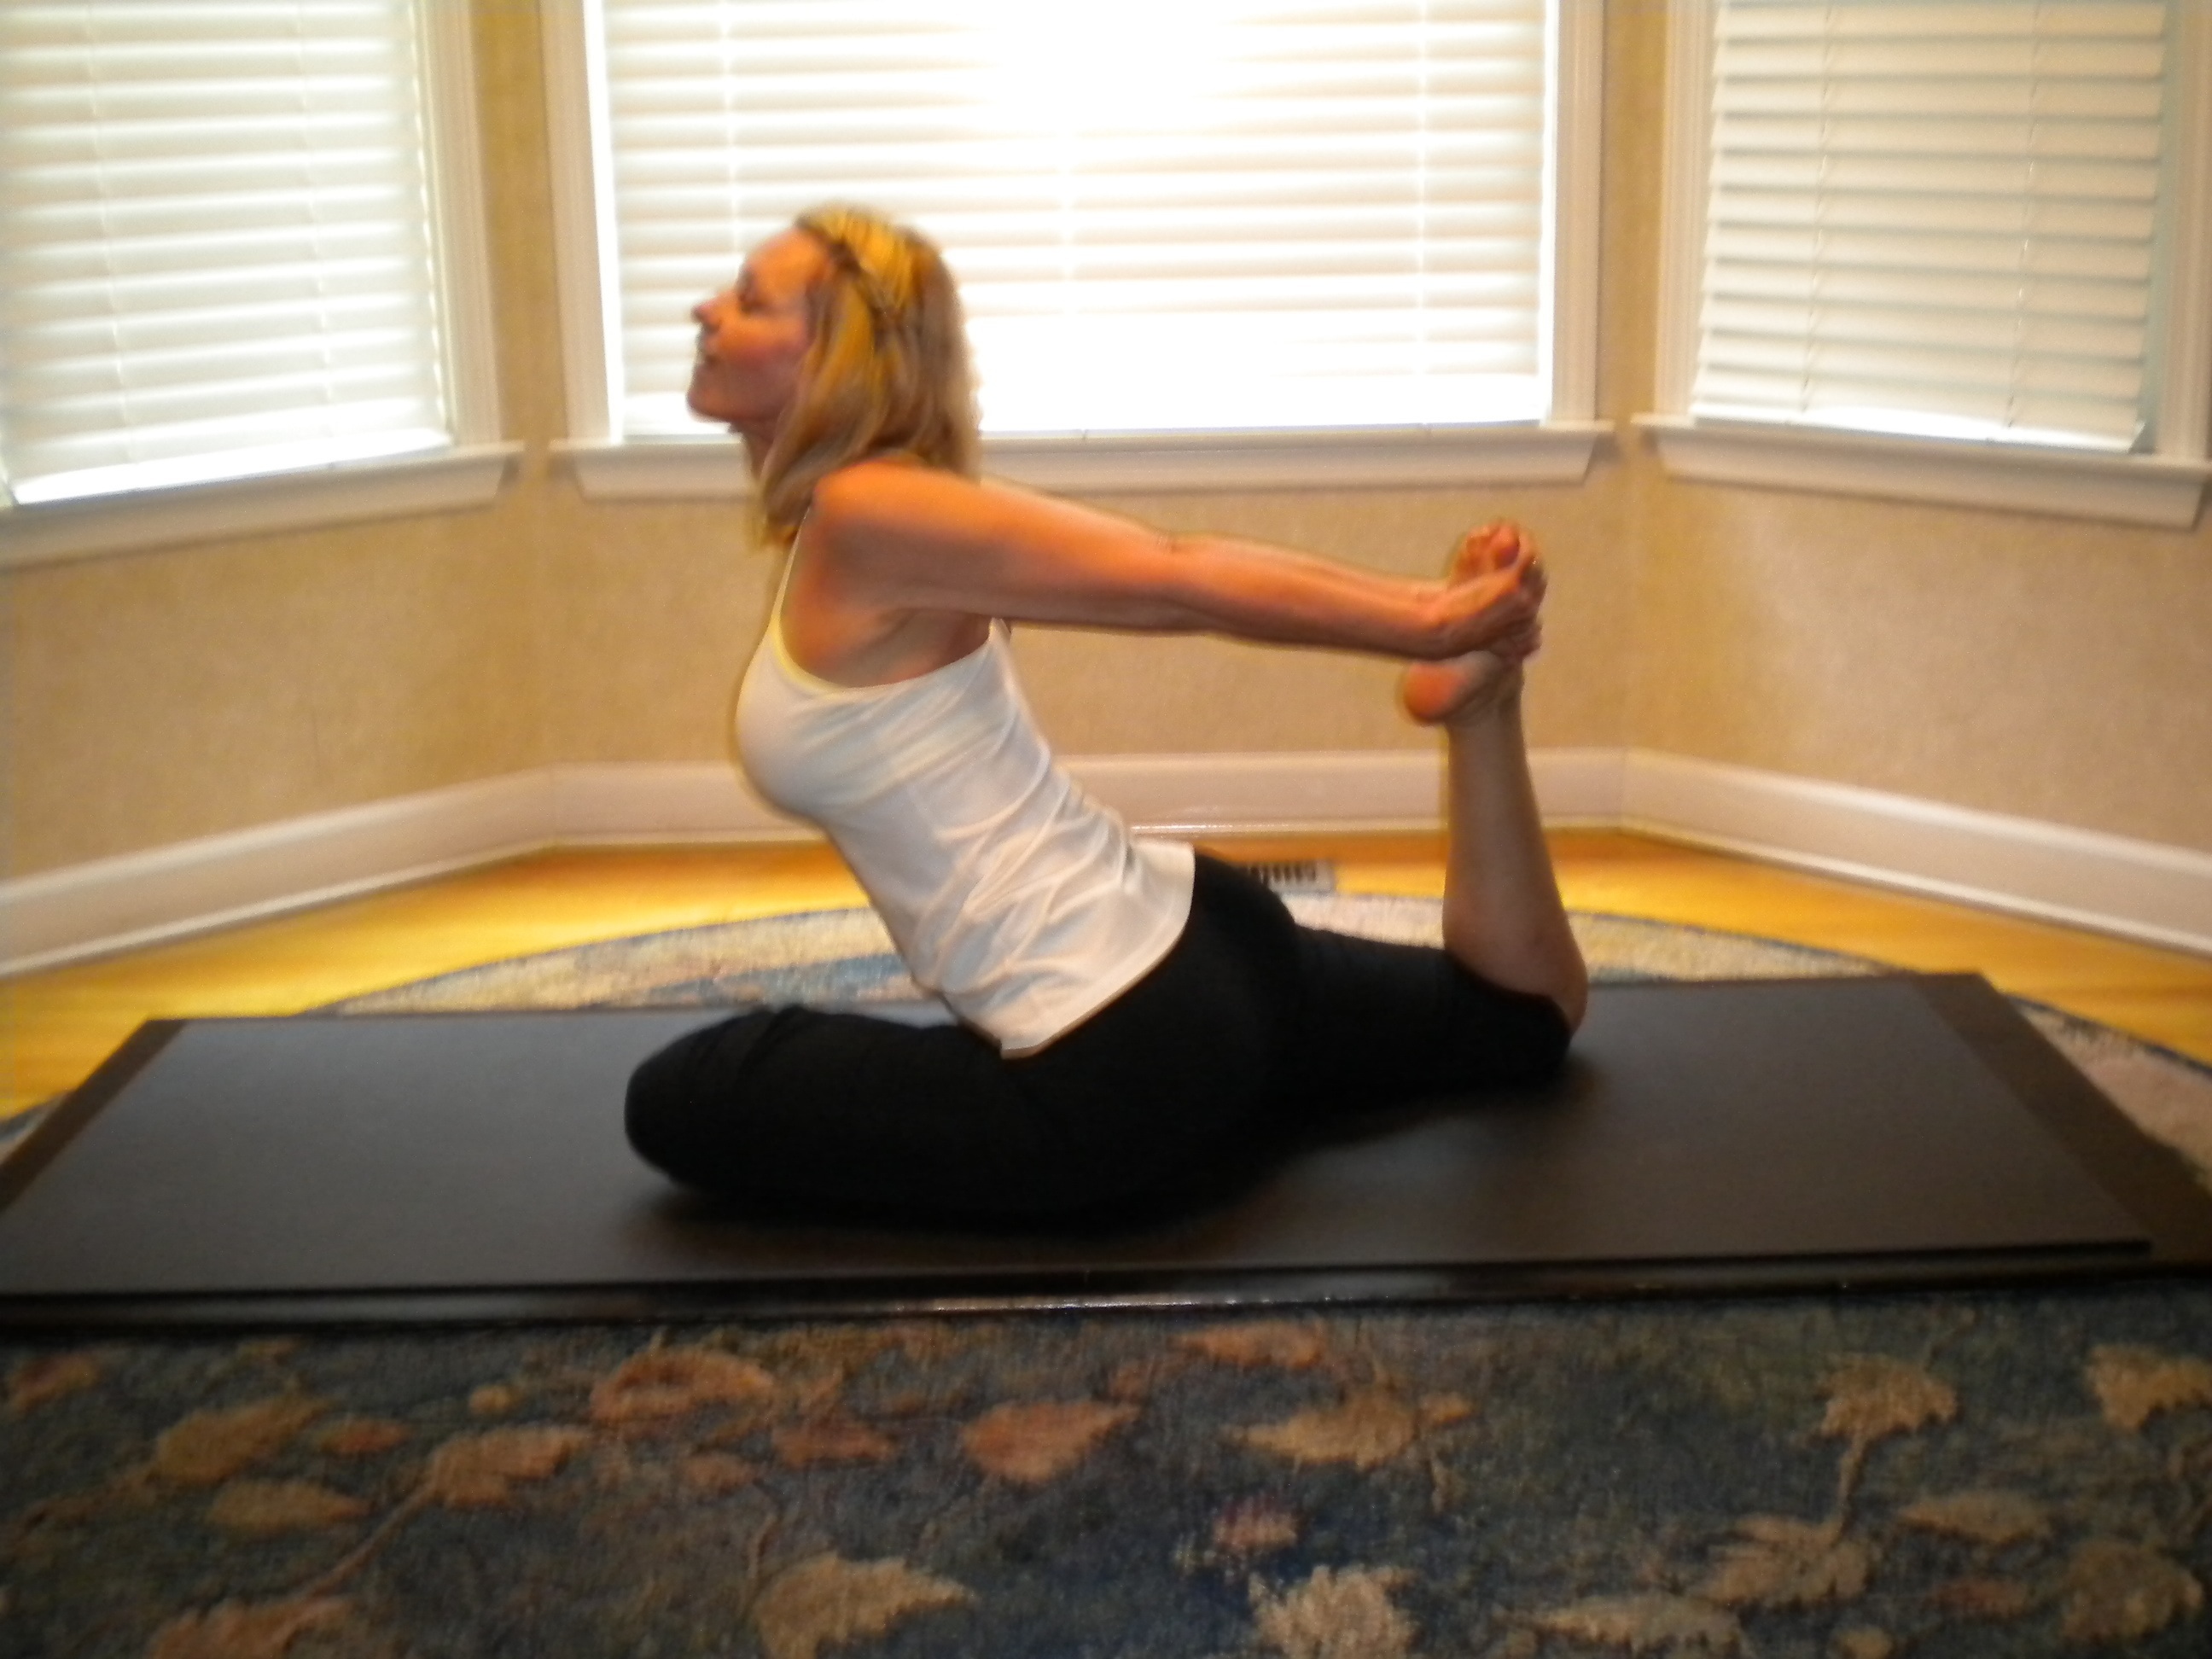
You know what I admire most about Terri Lange…even more than keeping her weight off for more than a decade? It’s that she never stops striving. Terri Lange is a 61-year-old legend and officially known as The GodMother of DDPYOGA. It was more than a decade ago that Terri, unhappy with just hitting 50 and steadily gaining weight, went to DDP for a shoulder to cry on. Instead, he gave her some straight talk: The options, he explained candidly, were to continue to feel sorry for herself, or take some action and reverse the tide. We all know which route Terri took, and her most recent photo is living proof. Having kept the 50 pounds off for more than a decade has turned Terri into a much-admired mentor in the DDPYOGA community. Through her example of eating clean and regular DDPYOGA workouts, she has guided many members to better health and significant weight loss. Terri became my role model and mentor four years ago. I wanted what she had and through sharing herself, I got it. She not only walks the walk, but is constantly looking out for her health and finding ways to take it up a notch. She takes her role model status in stride, but has never been afraid to admit she’s human. So, a few months ago, when the pounds began creeping back on, Terri didn’t hesitate to go searching for solutions.
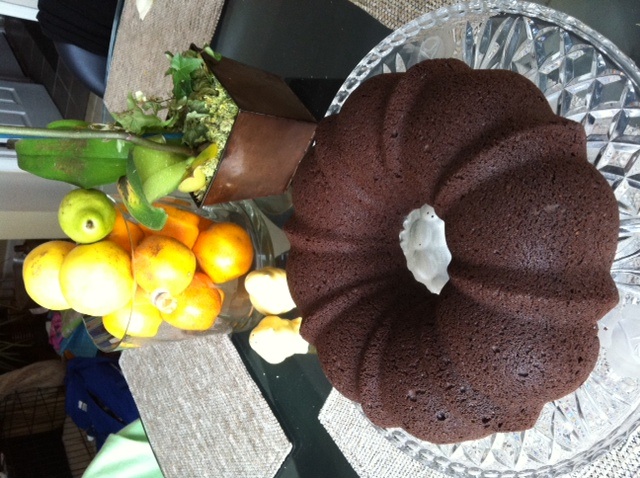
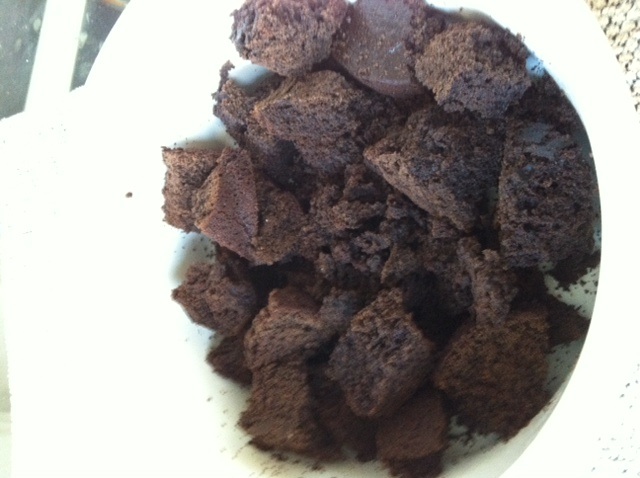
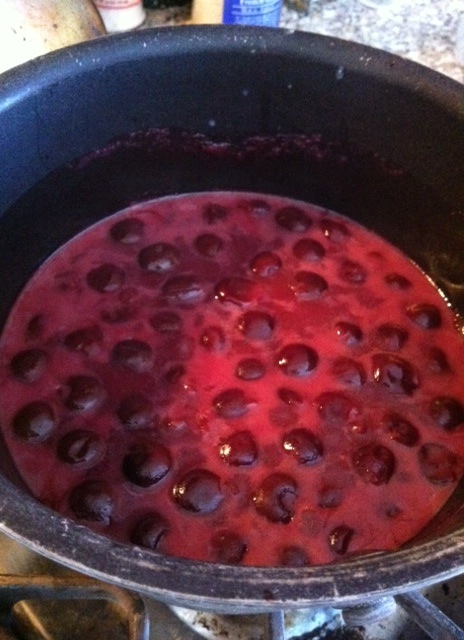
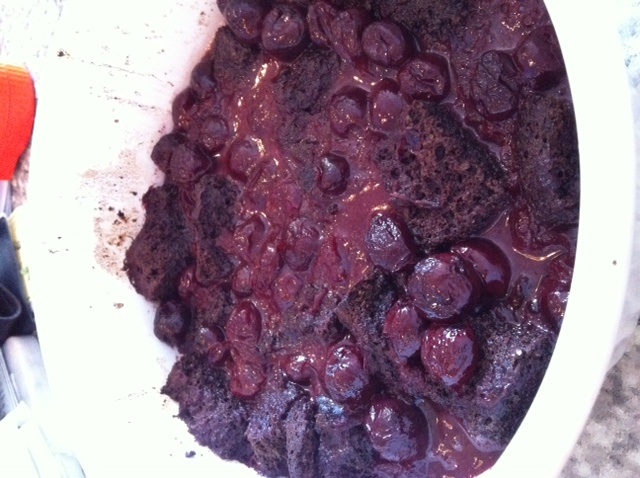
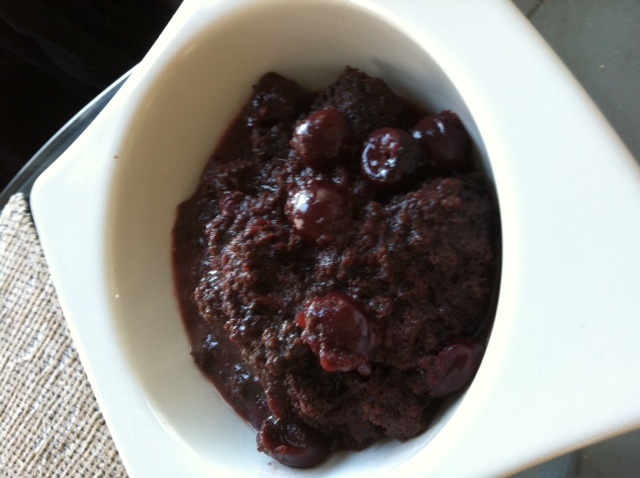
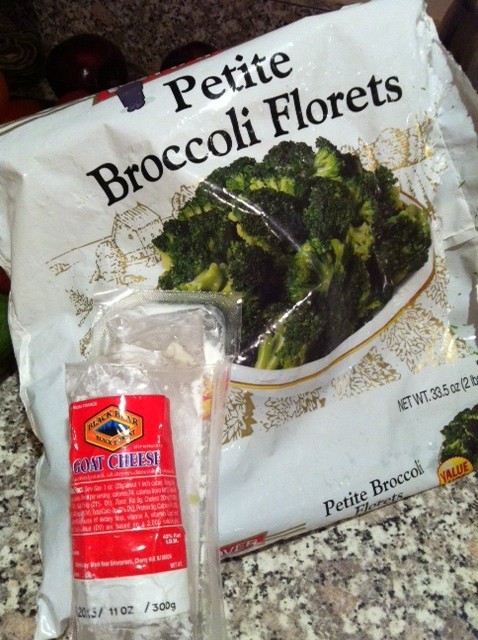
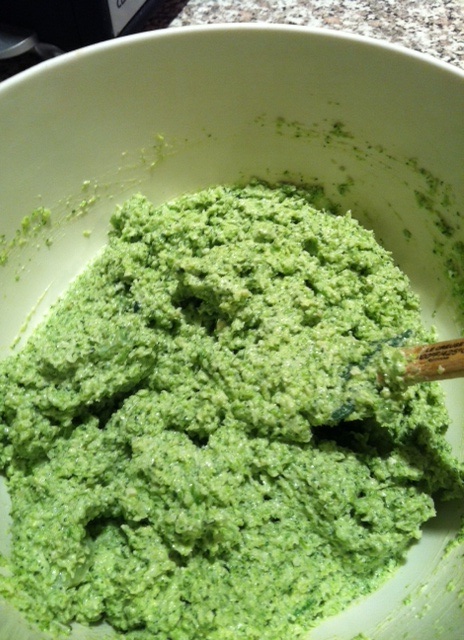
On tonight’s DDP Radio, Terri will tell us all about her recent focus to reassess her food choices and become that much healthier. As if her story wasn’t motivating enough, she has recently dropped an additional 20 pounds and reports being at her lowest weight since high school. “I didn’t think it was possible, but I’m living proof,” said Terri, who is celiac and has been eating gluten and dairy-free for more than five years. “For me it was never about being thin, but being healthy.” And through her committment of staying attuned to her body’s needs, Terri recently discovered that eating regular snacks of gluten-free cookies and coconut ice cream really wasn’t working for her. “My weight would slowly creep up and it became a struggle to maintain.” Through some good-old fashioned blood testing and with the help of her doctor, Terri decided it would be best to 86 the processed gluten-free foods and the sweets, and instead began making more wholesome versions of things she loves. “What really helped me was going flourless…I bake brownies now, but they’re made with black beans instead of gluten-free flour. It may not be for everyone, but I’d really like listeners to know how essential it was for me to cut out processed and sugary foods. It’s not that I never eat them, but I’m much more selective now.”
Terri will be answering your questions about clean eating and sharing recipes and tips that have helped her reach an all-time-high in terms of how good she feels now. “My energy level has soared and I am less hungry throughout my day even though I am eating less. For the first time in my life, I’m no longer pear-shaped….even my husband doesn’t recognize me from the neck down. This way of eating as gotten rid of the last of my fat ‘reserves,’ …and I’m 61.”
Terri said that while it’s crucial for everyone to find a way of eating that works for them, she has learned some valuable lessons where food is concerned. “The power of food is amazing to me. It’s true that it’s a fuel, but it effects ALL your organs…every molecule does something to you. My new way of eating is proof,” she explained. “I feel REALLY good. I can bounce around with my granddaughter now and feel like I’m 18…this is all new territory to me, but I love it.”
I’ll be co-hosting tonight with DDP and fellow team-member Robert McLearren, who has also transformed his body and life through DDP YOGA, Clean Eating, and a Positive Attitude. The topic for each show is just a means to get the ball rolling. DDP created the show as a forum for sharing questions, concerns, and triumphs that are part of the path to better health. It’s a journey that never ends, which is why a supportive community is a crucial part of the process. You can even post questions in advance of the show on the blog section at Team DDP Yoga (if you’re already a member), or during the show in the chat room at DDP Radio.
To listen to past shows, check out the archive at DDP Radio. He begins each broadcast with an update on what’s new with him, whether it’s wrestling news, his latest acting project, or the upcoming reality series “DDP Changing Lives.” The bulk of the show is devoted to DDP’s role as game-changer…and that’s why he created DDP Radio – to help everyone out there who wants it to OWN YOUR LIFE.
For more information, visit www.ddpyoga.com.
To listen to the show, visit DDP Radio or call (347) 994-1216.
Visit TEAM DDP Yoga at: http://www.teamddpyoga.com/?xg_source=msg_mes_network
Visit TEAM DDP Yoga at: http://www.teamddpyoga.com/?xg_source=msg_mes_network